
Walk into any beauty store, and you’ll find entire shelves dedicated to contour vs bronzer products. They’re often displayed side by side, they can look identical in the pan, and the packaging rarely helps tell them apart. It’s one of the most common points of confusion in makeup – and honestly, a fair one.
But here’s the thing: using bronzer when you mean to contour (or vice versa) won’t give you the result you’re after. These two products serve completely different purposes, and once you understand what each one actually does, both become much easier to apply – and much harder to mess up.
What is Bronzer?
Bronzer is designed to add warmth. Its whole job is to mimic the sun-kissed flush you’d get from a day at the beach – that golden, healthy glow that makes skin look radiant rather than sculpted.
Most bronzers come with warm undertones: think golden, copper, honey, or amber. They’re meant to be dusted across the areas where the sun would naturally hit your face – the top of the forehead, the nose, the cheekbones, and the chin. Applied lightly, bronzer gives the skin a lifted, healthy vitality without adding structure.
Bronzers come in matte and shimmer finishes. A matte bronzer reads as more natural and works beautifully for everyday wear. A shimmery formula adds a lit-from-within luminosity that catches the light – great for evenings or when you want your skin to look dewy and dimensional.
The key thing to remember: bronzer is about color, not shadow. You’re adding warmth, not carving out a bone structure.
What is Contour?

Contour is about creating the illusion of shadow. Where bronzer adds warmth, contour adds depth. It’s used to make certain areas of the face appear to recede, giving the impression of more defined cheekbones, a slimmer nose, or a more structured jawline.
The most important thing about a good contour product is that it’s cool-toned or neutral. Warm browns won’t create a convincing shadow effect – they’ll just look like a stripe of bronzer. A proper contour shade should be two to three shades darker than your skin tone, with grey, taupe, or ash undertones.
Contour products come as powders, creams, sticks, and even liquids. Powder contours are the most beginner-friendly because they blend easily and are forgiving of mistakes. Cream and stick formulas give a more seamless, skin-like finish that works particularly well on drier skin types.
Application placement matters enormously with contour. You’re not adding color – you’re strategically placing shadow. That requires a more precise hand and a bit of patience while you learn where the shadow should sit on your specific face shape.
The Real Difference: Warmth vs. Shadow
The simplest way to think about contour vs bronzer: hold both products next to each other. Bronzer will look warm – golden, caramel, peachy-brown. A contour shade will look noticeably cooler – ashier, greyer, more taupe.
If you’ve ever applied what you thought was a contour and ended up looking muddy or oddly tanned in certain spots, you were likely using a bronzer in a contouring position. And if your bronzer ever looked flat or dull, it’s possible you reached for a contour product instead.
This is exactly why understanding the distinction matters – it’s not pedantic, it’s practical. The same logic applies when deciding how bold vs. subtle to go with your overall look – the products you reach for should match the effect you’re actually trying to create.
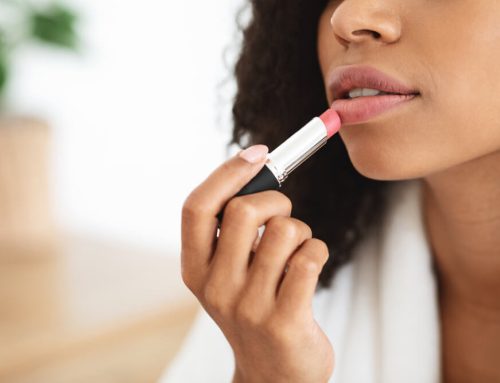
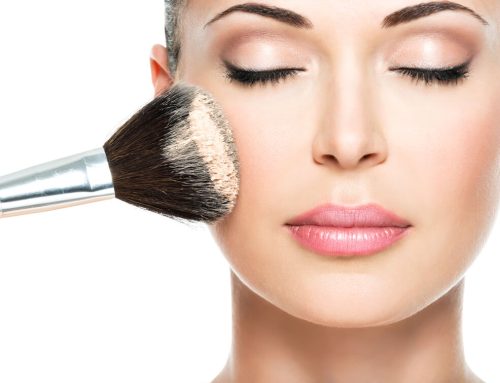
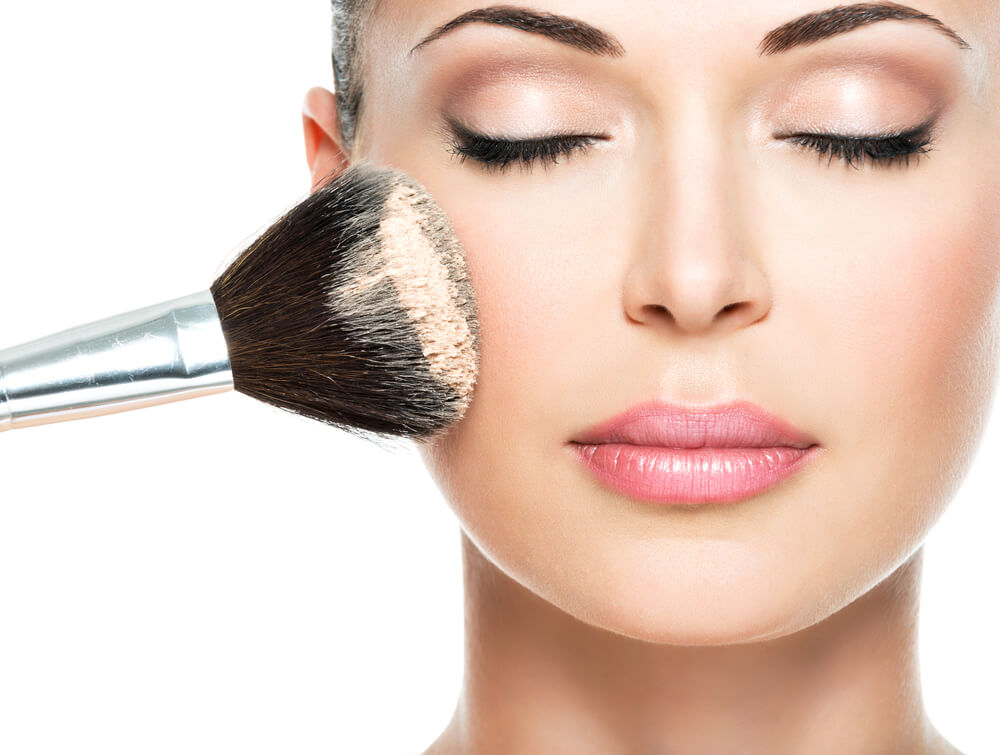
How to Apply Bronzer
The classic application method for bronzer is the “3” shape – sweeping your brush from the top of the forehead, down and across the cheekbones, then along the jawline. This follows the natural path of sun exposure and gives the most believable, sun-kissed result.
Use a fluffy, dome-shaped brush for a diffused, natural finish. Tap off excess product before applying – bronzer is easier to build than it is to tone down.
- Dust lightly across the top of the forehead and temples
- Sweep across the cheekbones, stopping before the center of the face
- Define the jawline with a light pass
- Add a small amount to the tip of the nose for a cohesive sun-kissed effect
For best results, apply bronzer after your base but before your highlight. If you’re not sure how to prep your skin before applying color products, getting that base right makes everything sit better.
How to Apply Contour
Contouring is more about precision than sweep. The goal is to place shadow where the face naturally recedes – or where you’d like it to.
Common placement points include just below the cheekbones (not on them), along the sides of the nose, beneath the jawline, and along the hairline to shorten the forehead. The exact placement varies depending on your face shape and what you’re trying to enhance.
- Use a small, angled brush for powder contour or a damp sponge for cream formulas
- Apply in short strokes and blend upward – never drag downward
- Start with less product than you think you need
- Check your work in natural light before adding more
Blending is everything with contour. Harsh lines are the most common mistake – and the easiest to fix with a clean blending brush and a patient circular motion. The finished result should look like a shadow that’s always been there, not a stripe you drew on.
Contour vs Bronzer: Can You Use Both Together?
Absolutely – and in fact, using both is how you get the most polished, multidimensional finish. Think of it this way: contour provides the structure, bronzer provides the life. Together, they give you a face that looks defined but not severe, warm but not muddy.
Apply your contour first to establish the structure. Then layer bronzer lightly over the top and out toward the temples to tie everything together with warmth. The two products should blend seamlessly at the edges – you shouldn’t be able to see where one ends and the other begins.
This layered technique is a good example of how makeup pros build dimension gradually rather than all at once – applying everything at full intensity in one pass is where most people run into trouble.
Choosing the Right Shades for Your Skin Tone

This is where people most often go wrong. A shade that creates a believable contour on a fair complexion can read as barely visible on a deeper skin tone – and a bronzer that looks golden and natural on medium skin can turn orange on fair skin.
For bronzer: go one to two shades deeper than your natural skin tone, and always lean warm. If you have fair skin, opt for light golden or champagne-toned bronzers. For medium to deep skin tones, richer copper or terracotta shades work beautifully.
For contour: the shade should be cool-toned and two to three shades deeper than your skin tone. Fair skin needs a light taupe, not a deep brown. For medium tones, a warm-neutral brown with grey undertones works well. For deeper skin tones, look for rich espresso or deep mahogany shades with minimal warmth.
The same undertone principles apply across makeup more broadly – understanding whether your skin runs warm, cool, or neutral is the foundation for choosing shades that actually work for your complexion, whether that’s contour, bronzer, or anything else in your kit.
Contour vs Bronzer: FAQ
Can I use bronzer as a contour?
Technically, you can, but the results won’t be as convincing. Bronzer’s warm undertones prevent it from reading as a true shadow, which means it tends to look more like a tan stripe than a defined cheekbone. For subtle everyday definition on medium to deep skin tones, a warm matte bronzer applied precisely can approximate a contour – but for anything more structured or photographic, a proper cool-toned contour product will always give a cleaner result.
What’s the difference between matte and shimmer bronzer?
Matte bronzer adds warmth without any reflectiveness, making it the most natural-looking option and the most versatile for all skin types – including oily skin, where shimmer can emphasize texture. Shimmer bronzer catches the light and adds a luminous, dewy effect. It’s especially flattering on dry or normal skin, and works beautifully for evening looks or when you want your skin to look particularly glowy. Some people apply matte bronzer for warmth and then layer a shimmer highlighter on top for glow – keeping the two effects separate gives you more control.
Where exactly should I apply contour on my face?
The answer depends on your face shape and what you want to define. The most universal placement is just beneath the cheekbones (follow the hollow when you suck in your cheeks slightly, and blend upward from there). For the nose, apply contour down either side of the bridge and blend well. For the forehead, a light application along the hairline and temples helps the face look more oval. Meanwhile, for the jaw, sweeping just beneath the jawline and blending down into the neck adds definition without making it look overdone. As a general rule, contour should never sit closer to the center of the face than the outer corner of the eye – keeping it to the perimeter keeps things natural.
Contour vs Bronzer: The Bottom Line
Contour and bronzer aren’t interchangeable – but they are complementary. Once you understand that one creates shadow and the other adds warmth, the rest of it clicks into place: which product to reach for, where to place it, and how to find shades that actually work for your skin tone.
Start with just one product if you’re new to this. Practice placing bronzer first – it’s more forgiving and gives instant visible results. Once that feels natural, introduce a contour shade and experiment with placement. If you’re a makeup beginner, these techniques genuinely get easier with a little repetition, and the learning curve is much shorter than it looks from the outside.
Get both right, and you’ll have one of the most powerful tools in makeup: a face that looks like the best version of itself, without looking like you tried too hard to get there.


Leave A Comment