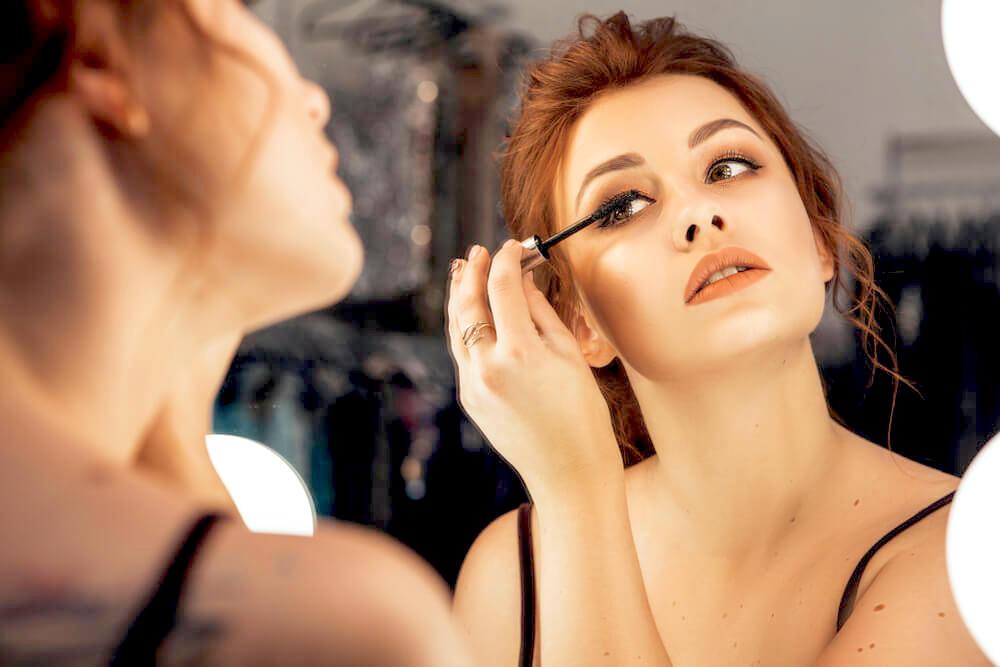
Sometimes, the hardest part about doing makeup is nailing what products will be friendly for your particular complexion.
Unfortunately, very few of us have the luxury of unlimited time and funds to play around with a million of different products before we decide what are the perfect matches for our skin.
However, there is one infallible guide that can make this process wildly simpler: your skin tone.
That’s right, when you identify what shades and undertones are present in your complexion, it will become much easier to chose the products that will compliment and enhance the appearance of your skin.
Determine Your Undertones
When it comes to tailoring your makeup products so they could fit your skin seamlessly, things can get a little overwhelming.
Perhaps before you start stocking up on all those foundations, powders and lipsticks, you should take a good look at your bare skin.
To do that, you should all your makeup and examine your face in natural light.
Before anything else, it might be useful to pinpoint the undertones in your complexion.
There are three categories of undertones: warm, cold and neutral.
How to figure out which one you belong to, though?
Two things can greatly help you find the answer to this question: your veins and jewelry.
Warm tones are usually accompanied with slightly green veins. When it comes to accessories, people who have warm undertones will usually look amazing in gold bracelets, rings and necklaces.
On the other hand, people with cool-toned complexions have visibly blue veins and are often best complimented with silver jewelry. As far as colors go, vivid red, electric blue, rosy pink are all winning combinations for people who fall into this category.
If your complexion has neutral undertones, consider yourself lucky: this means you can easily rock both gold and silver, as your skin tone is neither overly warm or cold. This also means you will likely have a wider range of makeup to experiment with.
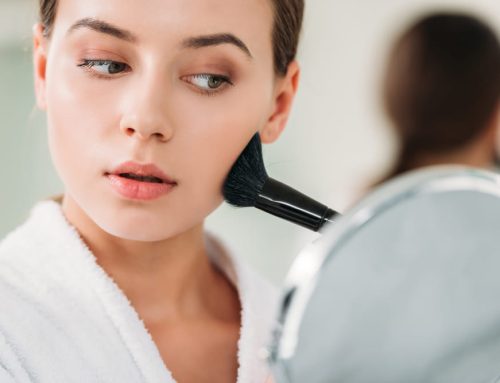
Find Your Ideal Foundation
When it comes to finding a makeup look that fits your skin tone just right, there is one product that you just have to match perfectly: foundation.
Get the wrong shade, and you can rest assured that your whole makeup will look off, regardless of how well you applied it.
However, this is easier said than done, especially when you walk into your drugstore and realize you have to find your chosen one in a massive sea of different shades.
However, once you’ve established what your undertones are, it becomes a little easier. Now all you need to do is find a matching shade.
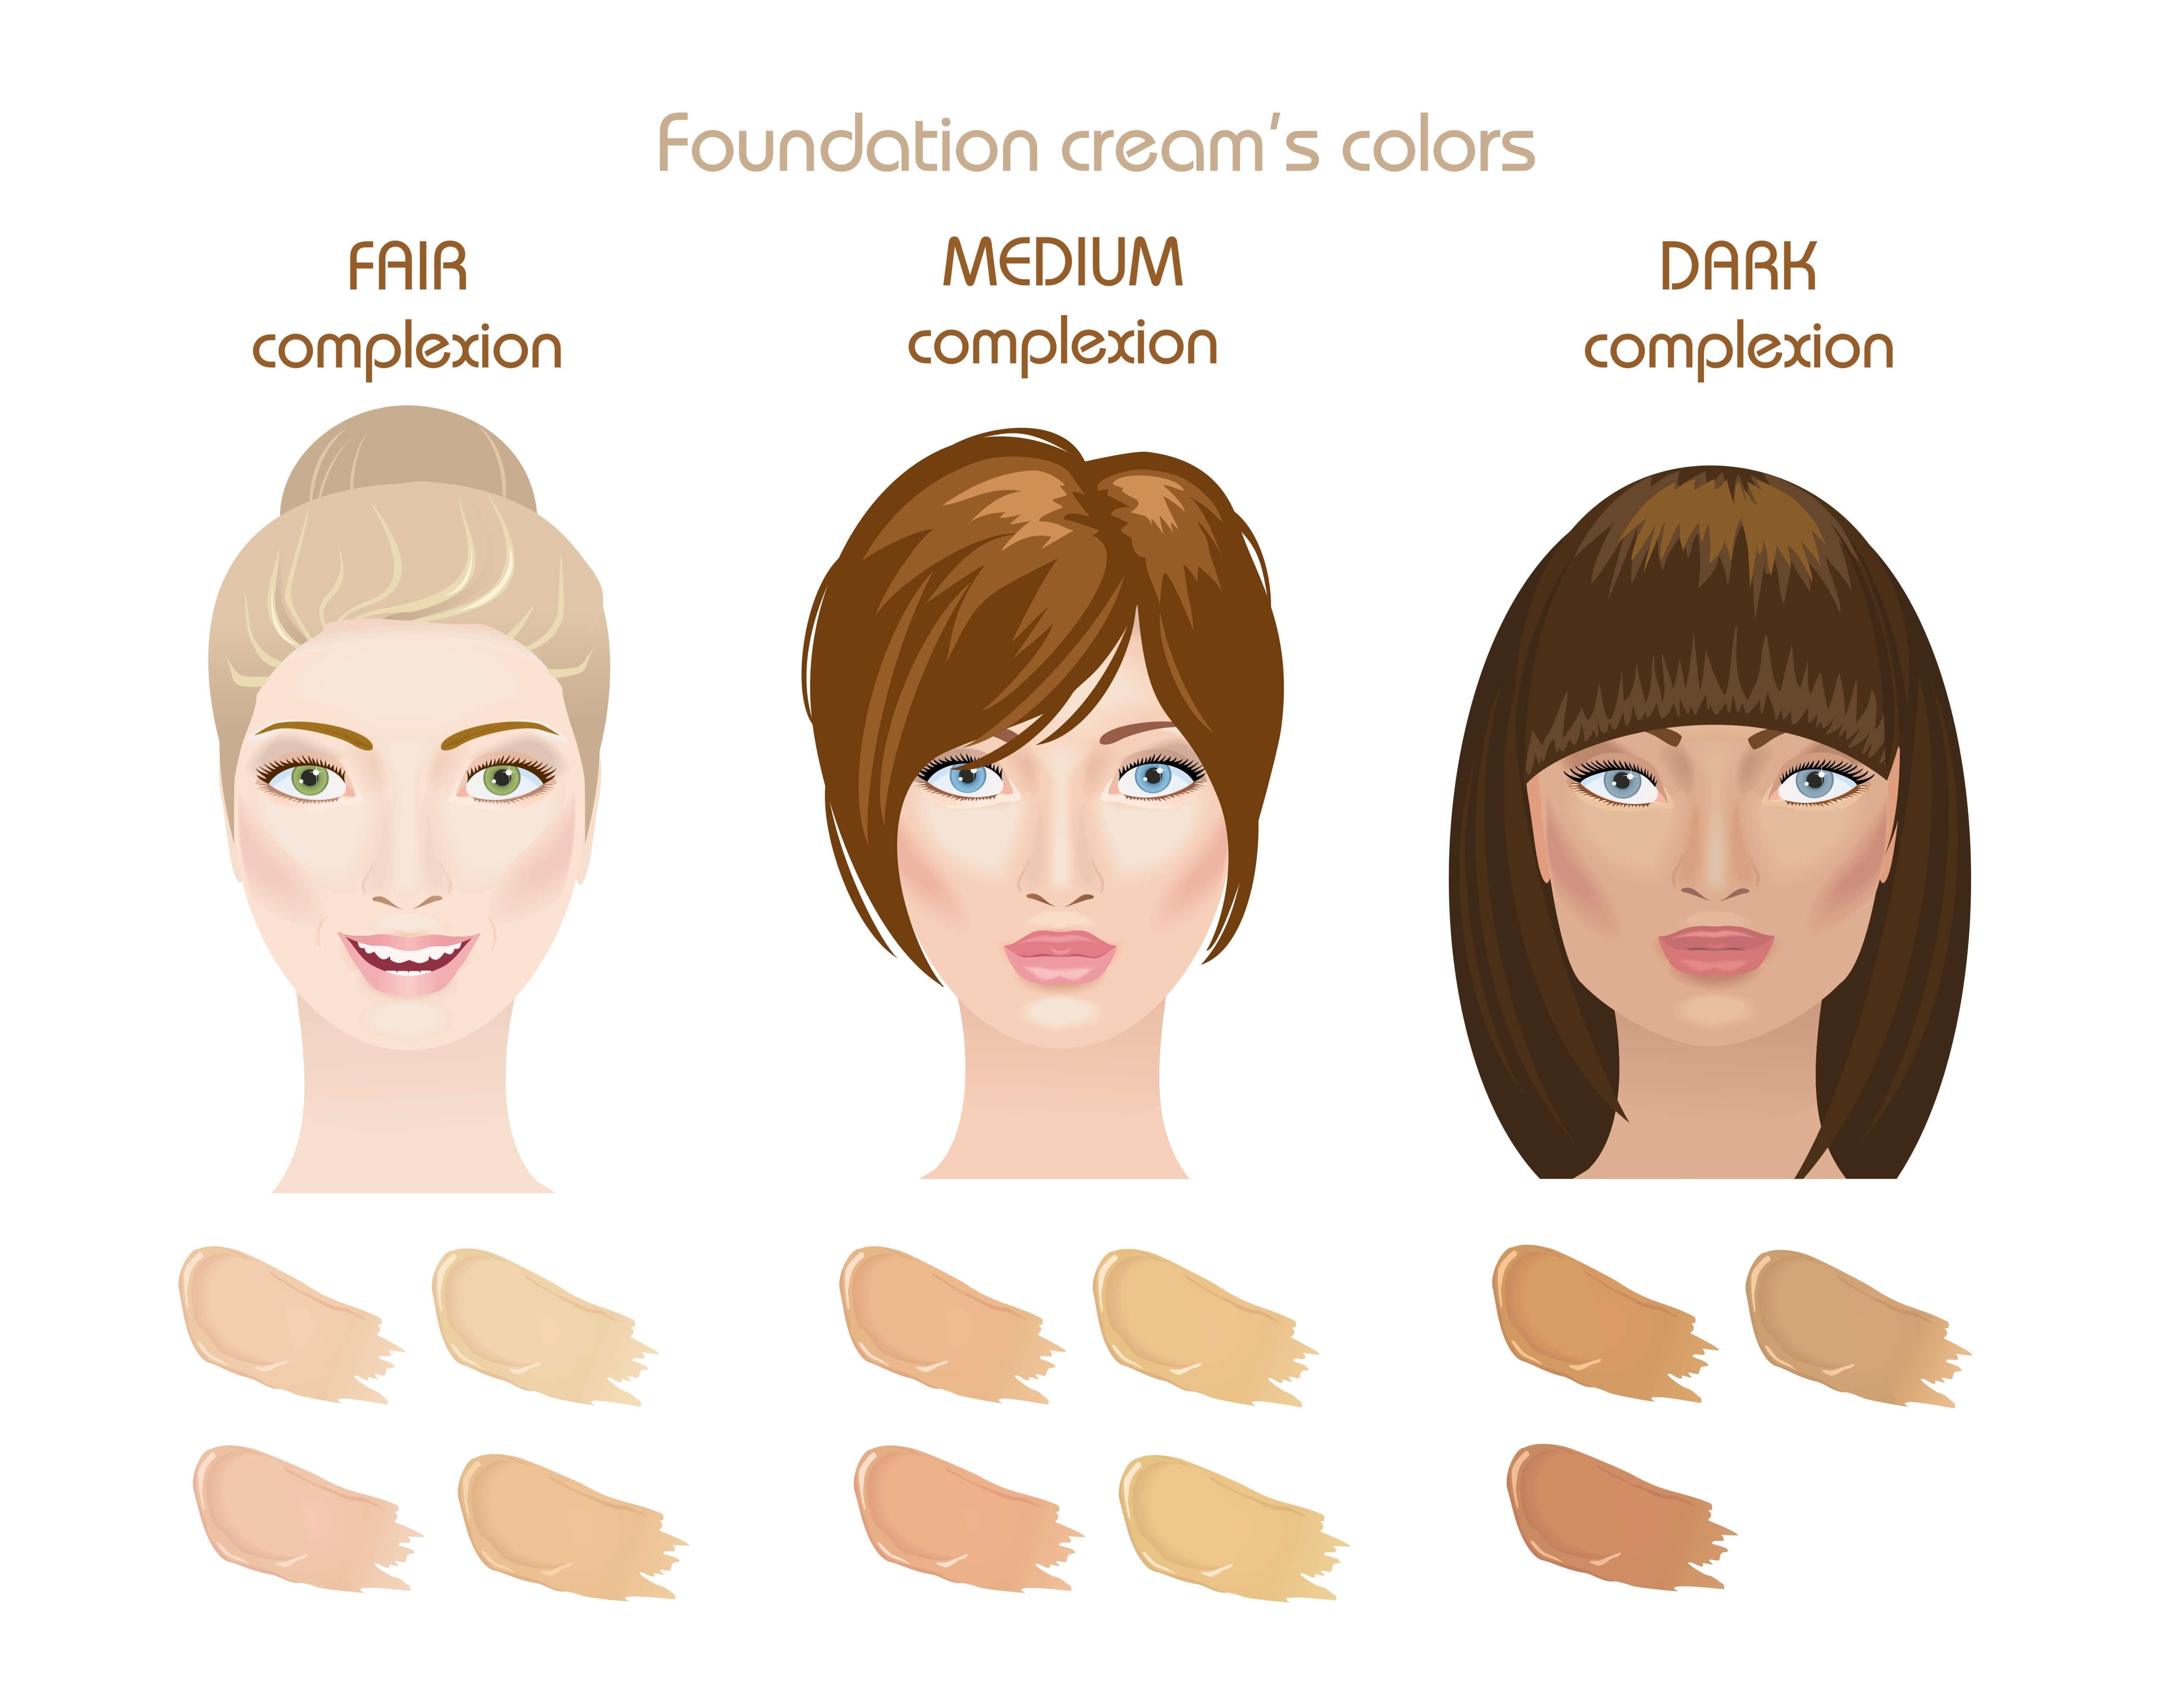
Broadly speaking, foundation shades can be split into three categories:
- Fair – very pale, intended porcelain skin that burns easily
- Medium – for slightly darker skin that can usually tan easily; frequently accompanied by olive undertones
- Dark – very deep-toned skin; prone to visible symptoms of hyperpigmentation
Since it’s hard to identify a product will match you straight from the packaging, take a tester in two or three shades that you think suit you the most.
Once you’re in natural light, apply all three on your cheek/jaw line and see which one will blend into the skin on your face and your neck the best.
Apply that shade on the rest of your face just to make sure it completely evens out your skin tone.
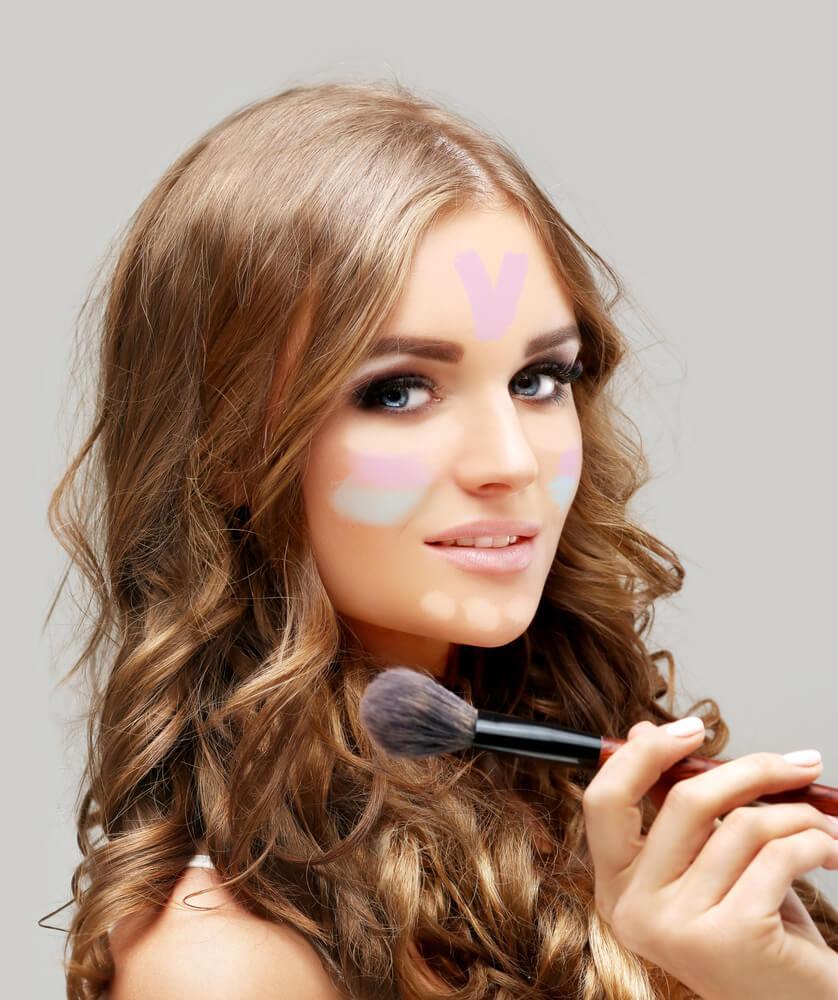
Even Out Your Skin Tone By Color-Correcting
Not everyone in the world is blessed with balanced, (mostly) unified skin tone.
More often than not, our complexion is a weird mish mash of different shades and pigments that even includes colors like yellow, purple and red.
On top of that, most people will have at least a couple of imperfections on their face, whether that’s dark circles, old acne scars or redness in certain areas.
For less conspicuous flaws, foundation or concealer will do the trick.
However, if your discolorations tend to be more pronounced, you might have to go the extra mile and treat those specific areas with a color-correcting product.
And if you’re not sure how exactly this color-correcting technique is supposed to work, you can refer to the color wheel: in theory, shades that stand opposite each other should cancel each other out.
In practical terms, this means the following:
- Redness on the face (rosacea, expanded capillaries, active pimples) can be corrected with a green-tinted concealer
- The dark appearance of your under-eye bags can be concealed with salmon-hued product
- Yellow can cancel out dull, sallow skin
Keep in mind that color correcting goes hand in hand with applying medium to full-coverage foundation on top of it.
Don’t Go Too Light With the Concealer
Once you’ve color-corrected you complexion and applied your foundation, it’s time to move on to an actual concealer.
While you have a little more leeway with concealers than with foundations, when it comes to application, there are still some rookie errors you should avoid when choosing your right shade.
As much as we all love to highlight and brighten up our under-eye area with concealers, you shouldn’t go too light with your product.
If you plan on applying it on the under eye area, you can go with half a shade lighter or one full shade from your normal skin tone, at most.
For a seamless finish, mix your concealer with a bit of foundation and you will get a hue that’s matches your skin tone a little better.
When it comes to correcting spots and blemishes, make sure to find a product that matches you skin tone as close as possible. If you go too light, you will only bring emphasis to the affected areas and make your blemish more noticeable.
Now, how to find the shade the fits your skin tone the best?
Essentially, you can be led by the same guidelines used for your foundation.
In short, if you’re warm-toned, avoid pink-ish concealers and go for something more yellow and peachy.
On the other hand, cool tones should gravitate towards pink-hued formulas and stay away from overly yellow or orange correctors.
Avoid Muddy Contour
With the increased popularity of makeup as a tool to not only enhance, but transform your features, contouring has steadily become a crucial part of every thought-out look.
And perhaps you’ve been itching to hop on this face-sculpting bandwagon, too!
However, contouring it not as easy as it may seem: you can’t expect to draw a couple of lines on your face and magically morph into Kim Kardashian.
Plus, if you don’t know what you’re doing, you may end up with an even worse version of the dreaded “foundation line”.
To avoid disasters and have your contour look seamless and natural, you have to put in a little more effort.
And it starts with choosing the right shade of contour for your particular skin tone.
If you tend to be on the pale side, avoid contour that’s too dark or heavy for your complexion.
Something a shade or two darker than your foundation – like a medium beige or a taupe color – should be enough to carve out your cheekbones and define your forehead and nose.
Medium skin tones have a little more room to experiment; however, they should also stick to a shade that’s not too far away from the natural shadows that form on the face.
Dark and deep skin tones can apply the same technique, or reverse the process and bring out the natural definition by adding more highlight in bronze or copper.

When it comes to formulas, if you’re a beginner, it’s best to stick to powder contour. These usually come with a matte finish, which means the contouring will have a more natural effect and you can gradually build it up.
Choose a Flattering Highlight
These days, if your cheekbones aren’t beaming for the gods, you aren’t doing makeup.
It’s true that highlighters have become more popular than ever before, but to truly bring out the shine in your face, you need to learn how to choose just the right shade of this radiance-boosting product.
For example, if you have darker skin, you should avoid anything that will make your skin look grey and frosty. Opt instead for golden and bronze shades that will bring out the glow in your skin.
On the other hand, medium skin tones have a slightly wider range to choose from. If you want to stick to a foolproof option, a champagne-colored highlighter will be your best bet.
Picking a flattering highlighter for paler complexions might be a little trickier, since ideally you want to find something that won’t make you look ghostly. To avoid this effect, go for formulas with a soft, pearly sheen.
If you want your highlighter to pop, then go for powder formulas and use a fan brush to accentuate your high points.
Alternatively, you can also go for stick or cream highlighters if you’re aiming for a natural look that will be more in sync with the rest of your makeup.
Not All Setting Powders Are Created Equal
Many people feel makeup looks aren’t complete until you dust your face with a touch of setting powder.
And for good reason, too: not only do setting powders blur out the edges of the products you applied, they also help your makeup stay put for the rest of the day.
But! Before you do anything, you need to find a makeup-locking formula that won’t disrupt the already existing hues in your skin.
If you make a misstep, you might end up looking overly yellow or washed out, and that shouldn’t be anyone’s makeup goal.
However, there is one product that can work for a number of skin tones, and that’s translucent powder.
This finely milled, colorless formula can be great for setting all your hard work without making you look like a ghost.
Still, some translucent powders can still give a grey cast to more deeper tones, so people who fall into this category should set their makeup with something more pigmented.
And to make sure your setting powder doesn’t give you the dreaded flashback, test it out by taking a selfie with the flash switched on before you leave the house.
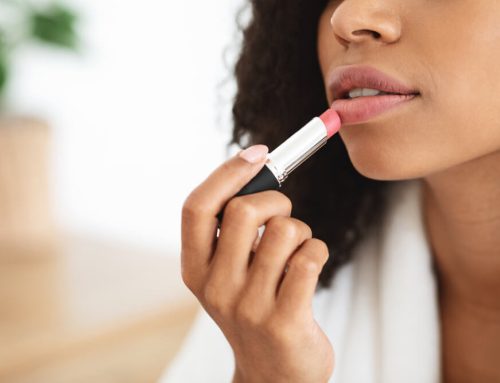
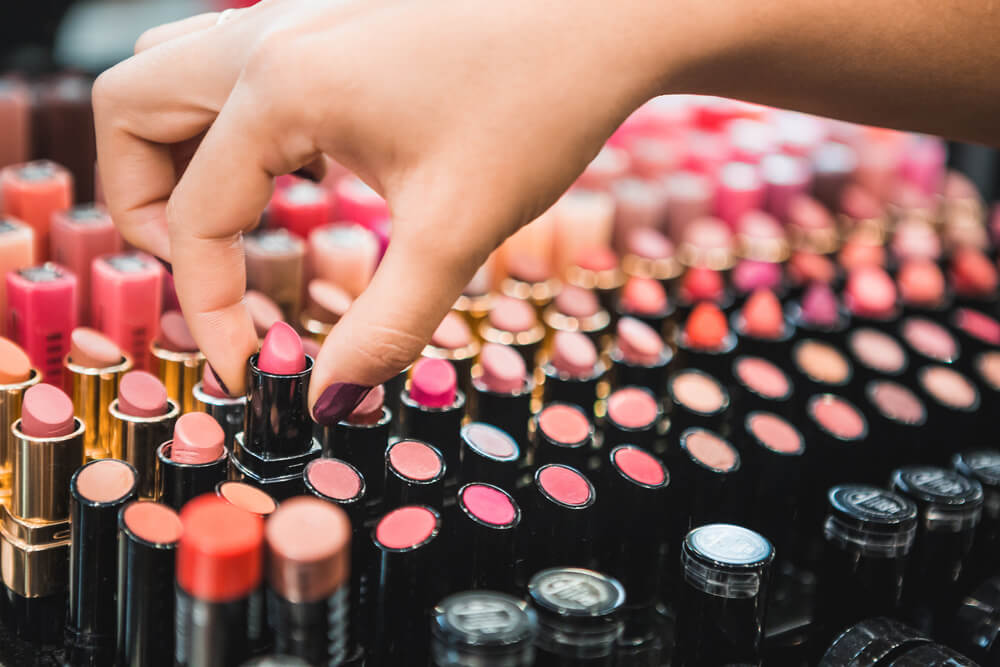
Select Your Perfect Nude Lip
Paying attention to your skin tone when choosing the right shades doesn’t end with base products.
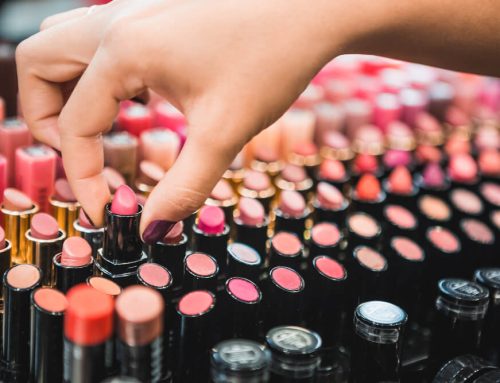
Believe it or not, your lipsticks should also be matched for your skin tone, and this is especially true for nude shades.
Finding the most flattering neutral lipstick might be a little challenging, but there are a couple of guidelines that should make this task easier for you.
For example:
- If your skin is very pale and has cool undertones, then go for dusty rose hues
- If you’re still on the paler side, but slightly more warmer-toned, opt for more pinky or yellow-tinted shades
- Medium and olive-toned complexions will look best in coral and caramel-infused nudes
- Deeper skin tones will look beautiful in rich golds, browns and oranges
And if you need a little help defining your pout, make sure to line your lips with a pencil in matching shade.
…Then Do the Same for Red
Any makeup kit wouldn’t be complete without an iconic red lipstick, ideal for just about any occasion.
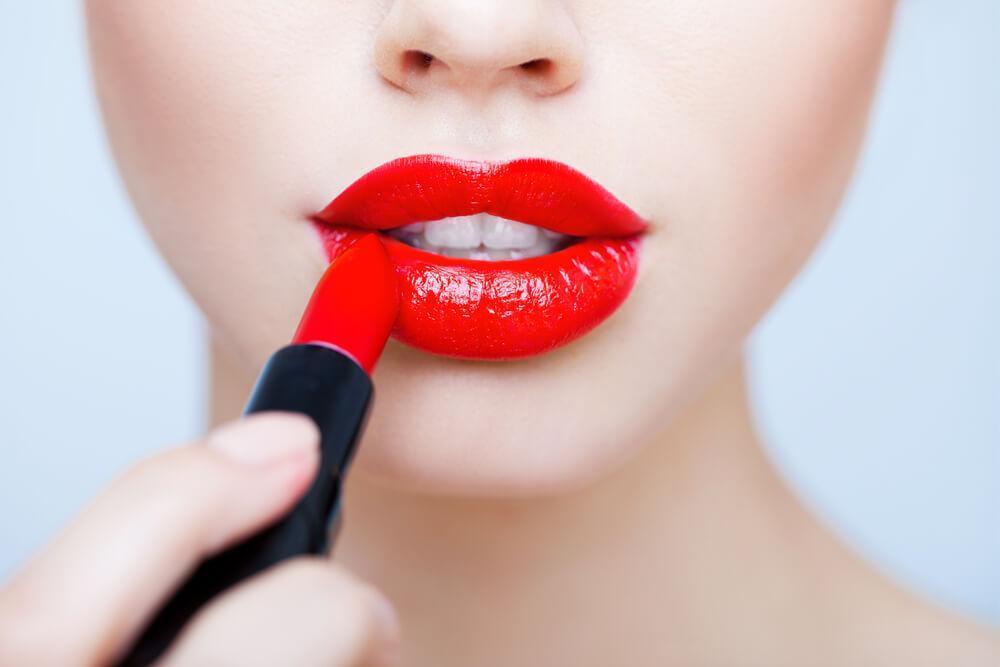
And while, yes, you can probably slap on whatever red you have laying around and probably look perked up in an instant, if you really want your pout to shine to its full extent, you should choose a shade that compliments your skin tone perfectly.
To that end, here are a couple of pointers that should help you out when choosing your ideal rouge.
Alabaster-toned complexion will look fabulous in any lipstick that has tinges of berry and cool pink.
People whose complexion is still on the light side, but with more neutral undertones can go for ruby and pinkish reds.
Olive and medium skin tones will look gorgeous in coral and orange-infused red lipsticks.
Vampy red lipsticks with blue undertones will be especially flattering on deeper skin tones.
And there you have it, all the necessary tips for finding the perfect kind of makeup for your skin tone. With a little bit of trial and error, there is no doubt that you will soon lock down that ideal skin-enhancing makeup look you’ve always strived for.
Leave A Comment