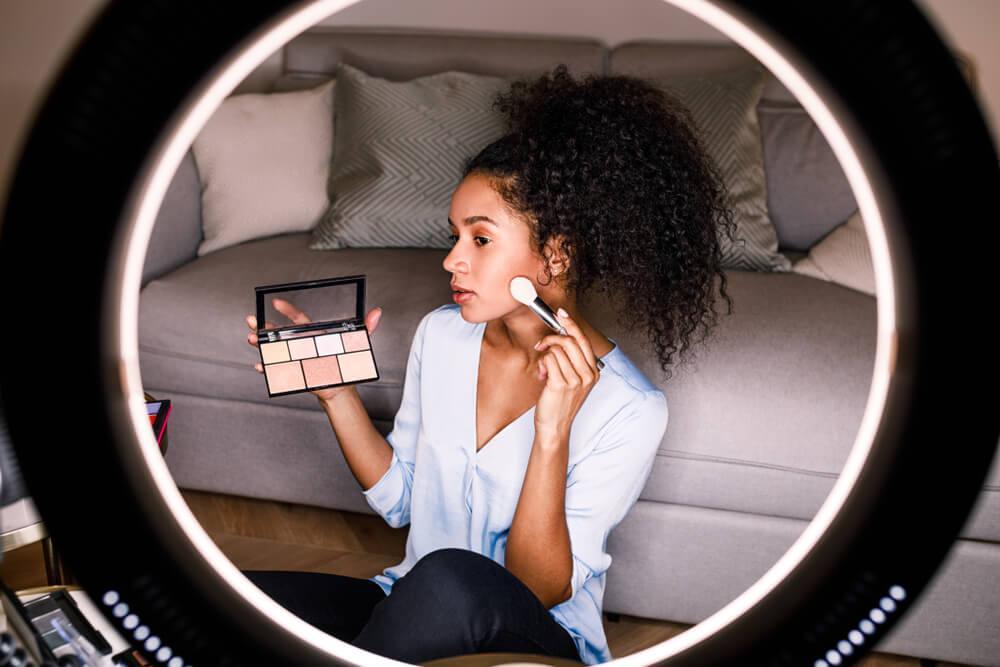
Whether you love to apply a full face of makeup daily or you only reach for your cosmetics bag on special occasions, tips on how to create the perfect makeup looks are always welcome! Instagram, of course, is practically overflowing with hacks and tricks all promising to change the way you apply your makeup forever. That said, scrolling through them all to find the best can feel like a never-ending task! Luckily for you, we’ve found all the best ones and compiled them here for you! Keep scrolling to discover them…
Gradient Lips In Seconds!
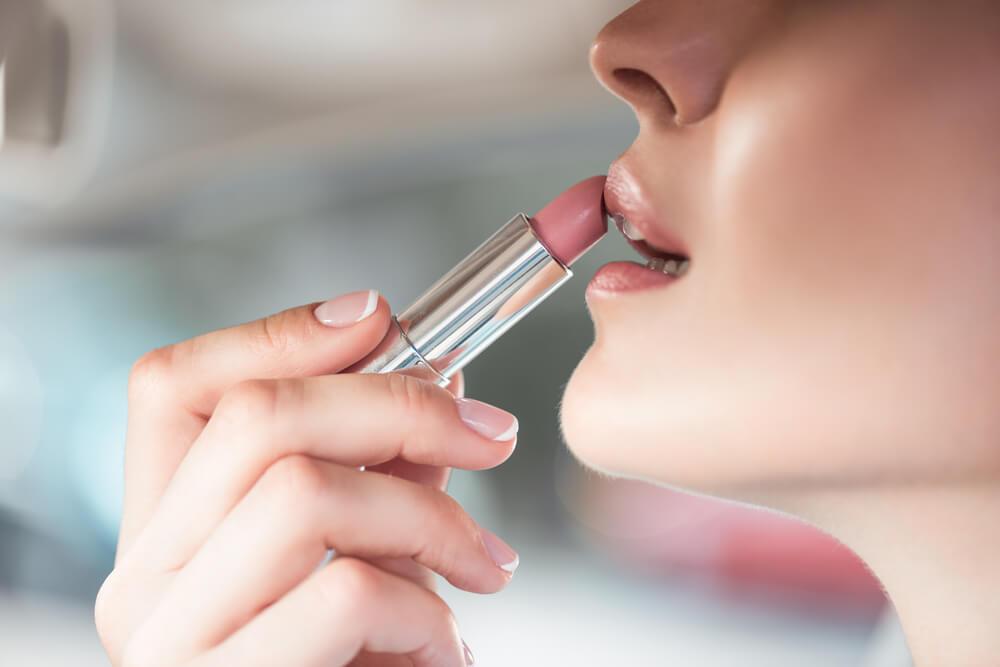
If like us you love the look of gradient lips but have neither the time nor the patience (or skill) to create the look, this one’s for you! Makeup expert, Haley Bui has come to your rescue, and we’re pretty sure you’ll be all set for the tools she uses to create this look.
Unlike other gradient techniques that require at least two shades, Haley creates hers with just one. Additionally, all you’ll need in addition to this is a tissue, and a brush you don’t mind getting lipstick on!
Start by spreading the color onto your lips directly from the lipstick itself. Focus most of the application toward the center of your lips. Then, pop the tissue over the top.
Using the same shade, apply the lipstick directly onto the tissue so some of the color transfers through to your lips. Here, you want to concentrate more on the outer parts of your lips. You should be able to feel where this is through the thin tissue but don’t worry if it’s not perfect as only a small amount of color transfers through.
Lastly, use a large makeup brush to blot the color that’s on top of the tissue. This will subtly blot the color onto your lips creating a lighter coverage than what’s already in the middle.
Remove the tissue and, voila! An easy gradient lip look that takes literally a couple of minutes to create. Perfect for an impromptu Zoom meeting!
Don’t Learn From Your Mistakes…
We all know the feeling, you’ve almost completed the perfect winged eyeliner, then, disaster strikes. Your hand jolts, you sneeze, someone bumps into you, whatever it may be, the whole look goes awry!
Well, when it comes to this particular common makeup ‘mistake’, one of the best techniques we’ve found for fixing it isn’t really a technique at all!
Created an unintentional double line? Added an extra flick? Dotted a spot of eyeliner next to your perfect wing? Whatever it may be that you did wrong, simply do it on the other side!
Nobody will question your look if it’s perfectly symmetrical and it appears as though you meant to do it. In fact, we bet you’ll get a ton of compliments on your unique technique!
Now, we know sometimes it’s passed saving, or when you’re about to have a work meeting this may not be an option. But, if it’s during your free time, on an evening out, or meeting up with friends, we say have fun and go for it!
Add Some Winter Blush
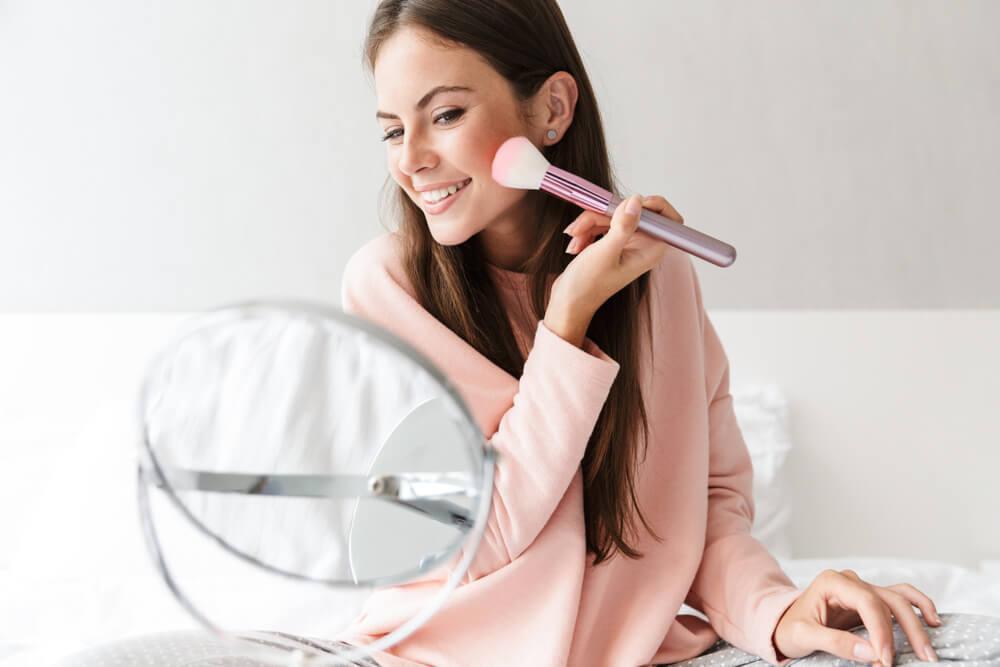
Now that the cold weather is here, and here to stay for a while, we’re all missing that summer glow our skin once had. Well, this next tip is perfect for lifting your complexion and bringing a super cute and natural-looking pop of color to your makeup overall!
Once you’ve applied your moisturizer, foundation, concealer, powder, or whatever your base products may be, reach for your favorite blush.
Go ahead and apply it to the apples of your cheeks, and, the bridge of your nose. This simple trick will give you a warm glow that looks perfect during the winter months. Just be sure to blend it out and only apply a little. This will ensure you have the appearance of a healthy glow rather than the festive shine of Rudolph’s nose!
Hair Accessories For Makeup Application
Always wanted freckles but weren’t blessed with them naturally?
You can create your own!
Now, some of us are lucky enough to have the most beautiful freckles known to man all year round. Others find they’re more prominent in summer. The rest of us have none at all. Whichever is true for you, your skin is beautiful!
Now, if you’d like to add a few faux freckles from time to time or to add to those you already have, that’s super easy to do. And, we’re betting you’ve had the tools to do so all along, even if you didn’t realize it!
Brown eye shadow? Check! Single bobby pin? Check! And that’s all you need!
Simply use the bobbled end of your bobby pin to dip into you a corner of your eyeshadow until the pigment transfers. Then, simply use the pin to gently dot the powder onto your skin where you’d like the faux freckles. Pro-tip, separate the bobby pin ends out from time to time to make a wider space between freckles. This will give you a more natural look.
Once this is done, let them sit for a moment then lightly dust your blush over the top. This is a great way to sport freckles for short periods, just make sure you wash them off as you would your normal makeup at bedtime to avoid clogging up your pores!
Feel Airbrushed IRL
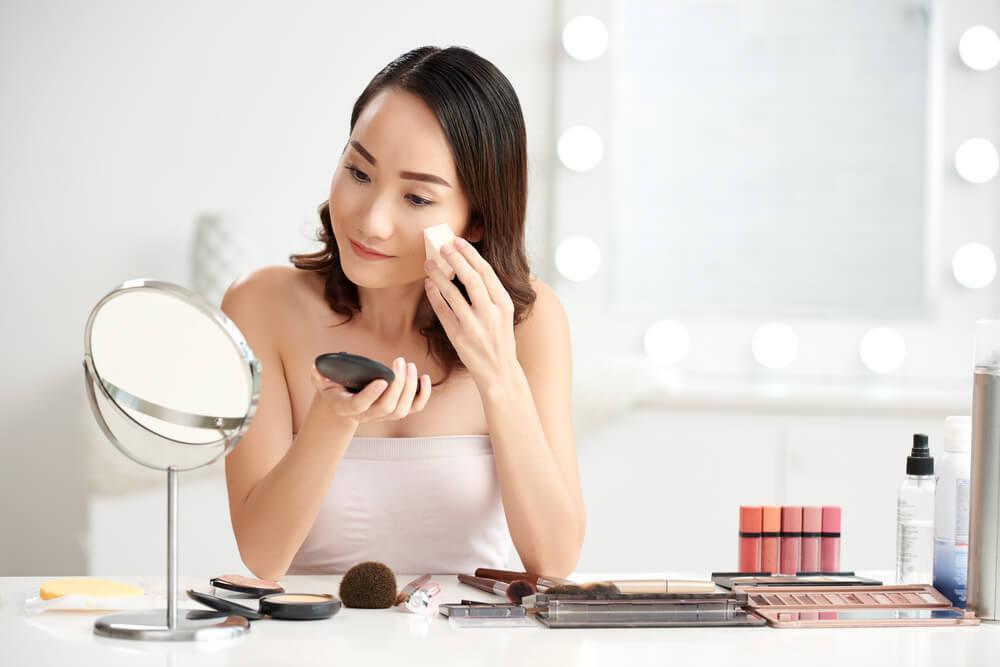
When it comes to foundation application, there are so many ways to apply it and tools to apply it with, it can quickly become overwhelming!
Well, we’re here to set the record straight on the best application method thanks to this next handy Instagram tip! Wave goodbye to smoothing the formula on with your fingers and forget all about brushing it on with a sponge.
The best way to blend your base?
A stipple brush!
Using a stippling brush or buffing brush to apply your base in a circular buffing motion is a sure-fire way to get that airbrushed look. The reason for this is the circular motion which continually blends the product against your skin as the brush makes continual sweeping contact, remember to use a stippling brush with many online positive reviews to make sure you got a good one!
This technique will also stop any unintentional lines of foundation forming on your face. And, provided you follow your application down and out far enough, you’ll avoid that telltale line of product sitting around the edge of your face!
A Slick Of Lipstick Can Change Everything
Sometimes, your day calls for one makeup look but your evening calls for another. Usually, something more subtle suits your day plans whilst a more dramatic one is desirable after dark.
If you often find this happening to you but you rarely have the time to apply an entirely new face of makeup, this tip is for you.
Always remember that when there’s no time for a darker eyeshadow, liquid eyeliner, or the application of false lashes, a simple slick of lipstick can change your entire look!
How?
It’s all about finding the right shade.
Making sure your eyes will match perfectly with the lip shade you’ll apply couldn’t be simpler. Just ensure that you stick to neutral tones. For matte eyeshadow, a beige or cream base is perfect. For something sparklier, opt for a light dusting of silver or gold but keep it light.
This way you can afford to carry off a deeper, more dramatic lip color and it won’t clash with what you’re already wearing. In our opinion, you can never go wrong with a classic red lip. Plus, if you’ve opted for a metallic eye look you’ll look instantly glam!
Smudge And Define Your Liner

Now, this may sound counter-intuitive but, trust us, it all makes perfect sense!
The next time you want to go for a smokey eye look, remember this tip for a quick and easy application. Start by drawing your eyeliner wing as you usually would then fill it in.
Next, take a small, preferably pointed, eye shadow brush and use it to blend out your eyeliner before it’s completely dry. Blend it upwards and along the lid and lash line stopping just before you reach halfway.
Now, take a flat eyeshadow brush and use it to neatly apply a line of concealer meeting the bottom of your flick. This will neaten up the edge whilst creating a little drama for your look!
Finish off by blending dusting a high pigment eyeshadow onto the remaining half of your lids, then add a sweep of mascara.
Concealing Blemishes Is Easier Than You Think
Ever heard of color correcting concealers?
Why not mix your perfect shade yourself at home!
For those of us that experience redness in the form of pimples, scarring, or broken blood vessels, green concealers are perfect. Why? Take a look at any color wheel and you’ll notice that green is the opposite of red and therefore works as a neutralizer.
So, as this Instagram tip suggests, all you’ll need to mix the perfect green color corrector for your skin tone is your concealer and a matte green eyeshadow.
Start by shaving tiny amounts of your eyeshadow off and gradually add them to a drop of concealer. Mix the two products together until you find the shade you need.
Next, dab the concealer onto your blemishes to conceal them ensuring to blend as you go. Finally, follow your regular makeup routine and you’ll find your color corrector will have worked as the perfect base to keep those blemishes hidden.
Have Your Q-Tips At The Ready
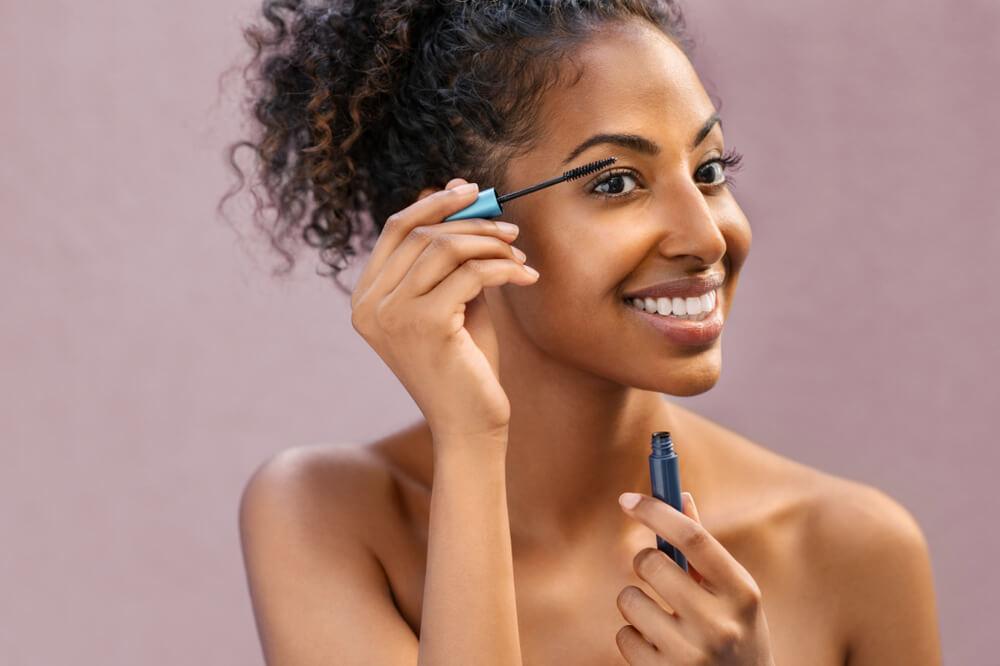
We’ve lost count of the times we’ve applied our mascara only to immediately blink, sneeze, or look op too far and transfer it onto our eyelids. Equally, we often just completely miss our lashes all together and apply it in completely the wrong place (Thank you 6 am starts!).
If you’re nodding along, know that we are too. Happily, this makeup tip is super simple and is one that you’ll treasure for all of eternity!
So, the next time you glance in the mirror and notice you have a perfect print of your lashes across your lids, don’t try to correct it with a tissue, your little finger, or anything else but a Q-tip!
Q-tips are thin, they’re precise, and they make ridding your lids of smudges just about the easiest task ever.
Our suggestion? One use Q-tips aren’t exactly environmentally friendly and we can quickly end up going through an entire pack without even realizing. Therefore, we highly recommend shopping for a reusable swab to be kinder to the environment.
It’ll be well worth the investment if our frequent mascara mistakes are anything to go by!
Draw The Line
We’re constantly seeing the most fabulous eye makeup looks on Instagram. The ones with super-sharp lines that draw upward making the most of their color and winged eyeliner. However, when you don’t have the steadiest hands, creating such a look can be tricky!
Well, no more. The next time you want to bring drama and precision to your eye shadow look, whether for a day look or something impressive after dark, simply use a guide to create your shadow line.
What kind of guide, you ask?
That’s the best part!
This doesn’t need to be some fancy product you spend tons of money on. Literally, a clean card from your purse will do the trick. Anything that’s clean, light to hold, and has a thin straight edge is perfect.
Hold it up at an angle whilst you apply your eye shadow. Use an eyeshadow brush with a straight edge to draw the pigment along the edge of your guide.
This will create a super blunt and dramatic eye look that not only looks incredibly professional but also elongates the look of your eyes making them appear wider and more open. Once you’ve completed this step, clean your guide, and use it to create the perfect straight edge for your winged eyeliner.
You’ll be pleasantly surprised at the results of this super simple make tip, we can promise you!



Leave A Comment